
티스토리 뷰
사전캠프 TIL 10일차 (이상한 문자 만들기, 삼총사 - Kotlin | 로또 번호 생성기 UI 구현)
하몬드 2024. 5. 7. 15:20코드카타
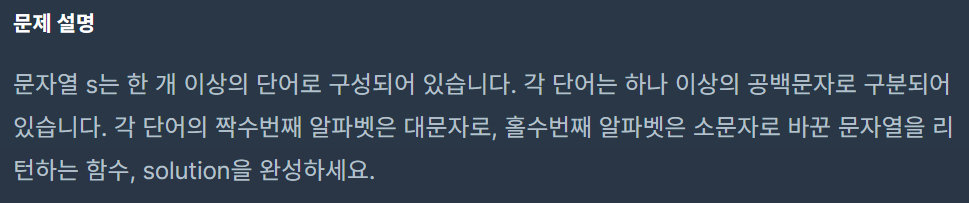
이상한 문자 만들기
문제
정답
class Solution {
    fun solution(s: String): String {
        val words = s.split(" ").map { w ->
            w.mapIndexed { i, c ->
                if (i % 2 == 0) c.uppercaseChar()
                else c.lowercaseChar()
            }.joinToString("")
        }
        return words.joinToString(" ")
    }
}
map과 mapIndexed 함수, joinToString()을 적절히 활용하면 풀 수 있는 문제이다.
mapIndexed 함수
val s = "try hello world"
s.split(" ").mapIndexed { i, c -> println("${i}번째 단어: $c") }

// 실행결과
/*
0번째 단어: try
1번째 단어: hello
2번째 단어: world
*/
컬렉션의 각 요소와 그 요소의 인덱스를 람다 함수의 매개변수로 전달하고,
람다 함수에서 반환된 결과를 사용하여 새로운 컬렉션을 생성하는 함수이다.
joinToString()
val words = s.split(" ").map { w ->
    w.mapIndexed { i, c ->
        if (i % 2 == 0) c.uppercaseChar()
        else c.lowercaseChar()
    }.joinToString("")
}

// [[T, r, Y], [H, e, L, l, O], [W, o, R, l, D]] > [TrY, HeLlO, WoRlD]
이 구문에서 joinToString("")은 각 배열 요소를 합치는 역할을 한다.
words.joinToString(" ") // [TrY, HeLlO, WoRlD] > TrY HeLlO WoRlDjoinToString(" ")은 컬렉션의 각 요소를 공백 문자로 구분하여 하나의 문자열로 결합한다.
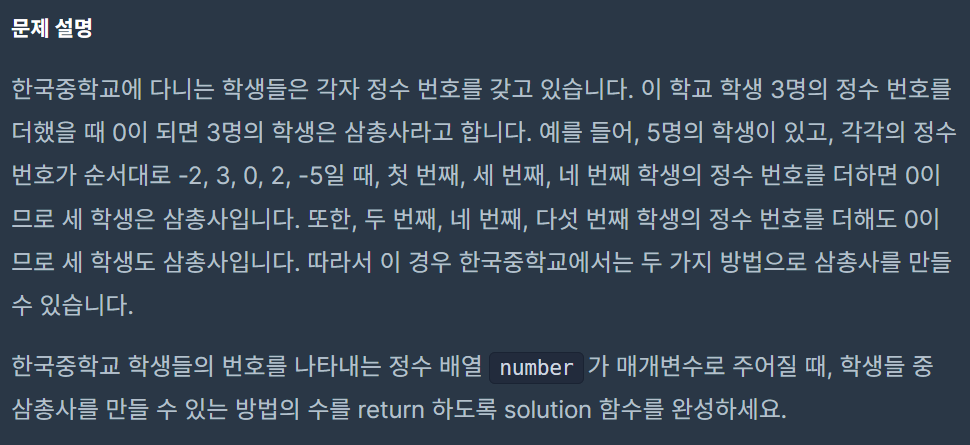
삼총사
문제
정답
class Solution {
    fun solution(number: IntArray): Int {
        var count = 0
        val n = number.size

        for (i in 0 until n - 2) {
            for (j in i + 1 until n - 1) {
                for (k in j + 1 until n) {
                    if (number[i] + number[j] + number[k] == 0) {
                        count++
                    }
                }
            }
        }
        return count
    }
}
배열에서 3개의 정수를 더해 0이 되는 경우의 수를 구하는 문제이므로
3중 for문을 통해 3개의 수를 더할 수 있는 모든 경우의 수를 실행해보면 된다.
해당 3중 for문에서 세 인덱스는 항상 의 관계를 가진다.
이렇게 하면 중복 없이 모든 가능한 조합을 한 번씩만 고려하게 된다.
이 방식은 브루트 포스(Brute Force) 방식에 해당한다.
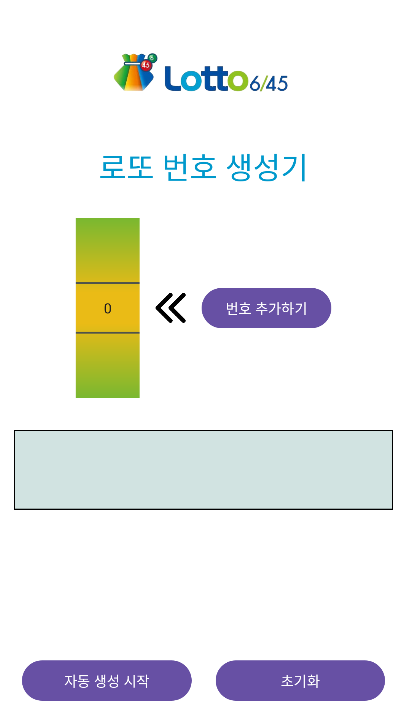
로또 번호 생성기 UI 만들기
코드로 UI 생성하기
저번 bmi 측정기 때는 ui를 design화면에서 배치했지만
코드를 직접쳐서 ui를 생성할 수도 있다.
design들어가서 위젯 속성을 하나하나 설정해주기 귀찮은데
위젯의 속성이름만 좀 외워두면 나중에는 코드로 치는게 더 편하다.
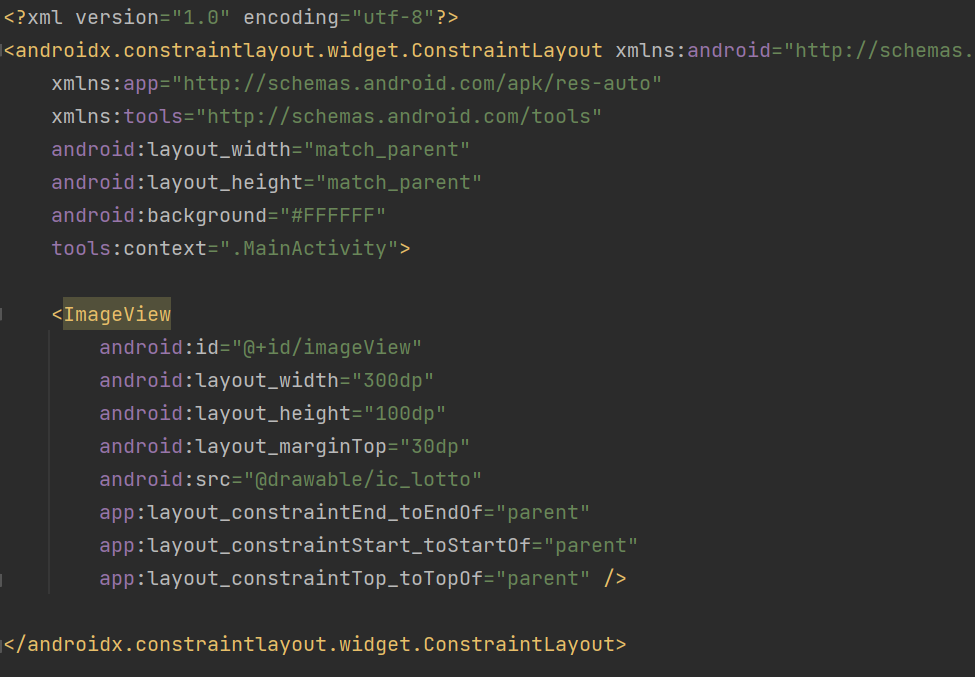
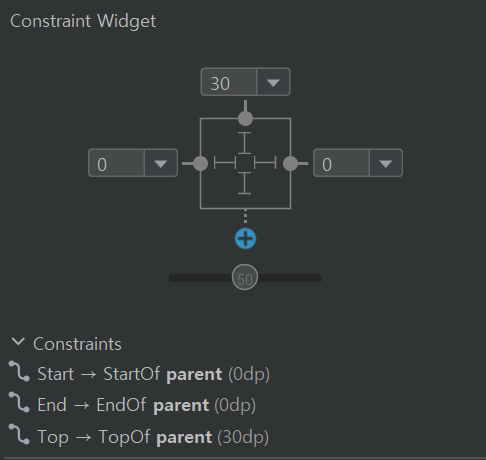
위젯 정렬 속성
android:layout_marginTop="30dp"
app:layout_constraintStart_toStartOf="parent"
app:layout_constraintEnd_toEndOf="parent"
app:layout_constraintTop_toTopOf="parent"
layout_constraint방향_to방향Of="parent" 구문은
해당 방향으로 지정한 마진값만큼 여백을 준다는 뜻이다.
지정한 마진값이 없다면 마진은 기본적으로 0으로 설정된다.
Start는 좌측방향, End는 우측방향에 해당하며
두 방향 모두 parent(0)로 값을 주면 중앙정렬이 된다.
NumberPicker 위젯

로또 번호를 생성할 때 번호를 추가하는데 쓰이는 위젯으로
NumberPicer위젯을 사용해줬다.
solidColor값으로 위아래 색상, background값으로 중앙색상을 지정할 수 있다.
xml 파일로 이미지 생성
// bg.xml

<?xml version="1.0" encoding="utf-8" ?>
<shape xmlns:android="http://schemas.android.com/apk/res/android"
    android:shape="rectangle">
    <solid android:color="#D1E3E1"/>
    <stroke
        android:width="1dp"
        android:color="#000000"/>
</shape>
LinearLayout의 배경에 해당하는 이미지이다.
// circle_blue.xml

<?xml version="1.0" encoding="utf-8" ?>
<shape xmlns:android="http://schemas.android.com/apk/res/android"
    android:shape="oval">
    <solid android:color="#3369D6"/>
    <size android:width="44dp"/>
    <size android:height="44dp"/>
</shape>
파란색 원모양 이미지에 해당하는 xml파일이다.
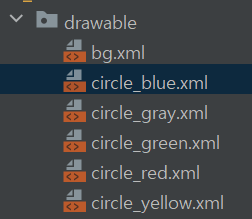
circle_blue.xml을 선택한 다음 복사 붙여넣기해서
다른 색상의 원도 4개 만들어준다.
버튼 2개 나란히 배치

버튼을 이런식으로 배치해준다.
<Button
        android:id="@+id/btn_run"
        android:layout_width="0dp"
        android:layout_height="wrap_content"
        android:layout_marginStart="24dp"
        android:layout_marginBottom="24dp"
        android:text="자동 생성 시작"
        app:layout_constraintStart_toStartOf="parent"
        app:layout_constraintBottom_toBottomOf="parent"
        app:layout_constraintHorizontal_bias="0.5"
        app:layout_constraintEnd_toStartOf="@+id/btn_clear" />

    <Button
        android:id="@+id/btn_clear"
        android:layout_width="0dp"
        android:layout_height="wrap_content"
        android:text="초기화"
        android:layout_margin="24dp"
        app:layout_constraintBottom_toBottomOf="parent"
        app:layout_constraintEnd_toEndOf="parent"
        app:layout_constraintHorizontal_bias="0.5"
        app:layout_constraintStart_toEndOf="@+id/btn_run"/>
양쪽 버튼 모두 width값을 0dp로 줘서 두 제약 사이에서 동적으로 크기를 조절하도록 한다.
자동 생성 시작 버튼의 끝부분을 초기화 버튼의 시작부분에,
초기화 버튼의 시작부분을 끝부분에 연결한 것이 두 버튼 사이 제약조건이다.
마지막으로 자동 생성 시작 버튼의 좌측, 하단 부분의 마진값과
초기화 버튼의 마진값을 같게 해주면 된다.
이런한 방식으로 제약을 통해 버튼을 배치하면 버튼이 항상 균형잡힌 위치에 있게 되며,
화면 크기나 방향이 변경되어도 유연하게 대응할 수 있도록 해준다.
작성한 UI
'내일배움캠프 > Android 사전캠프' 카테고리의 다른 글
| 사전캠프 TIL 12일차 (시저 암호, 숫자 문자열과 영단어 - Kotlin | MBTI 테스트 시작화면 UI 구현) (0) | 2024.05.09 |
|---|---|
| 사전캠프 TIL 11일차 (크기가 작은 부분 문자열, 최소직사각형 - Kotlin | 로또 번호 생성기 기능 구현) (0) | 2024.05.08 |
| 사전캠프 TIL 9일차 (3진법 뒤집기 - Kotlin | BMI 계산 기능 구현) (0) | 2024.05.04 |
| 사전캠프 TIL 8일차 (직사각형 별찍기, 최대공약수와 최대공배수 - Kotlin) (1) | 2024.05.02 |
| 사전캠프 TIL 7일차 (BMI 계산기 UI 구현) (1) | 2024.05.01 |